
What to do with Old Photos | Scan and Preserve Old Family Photos


Have you ever wondered "what should I do with my old family photos"? Preserve photo memories by turning them into digital images, making a scrapbook, doing a DIY craft project or... Here are some things to do with old photos.
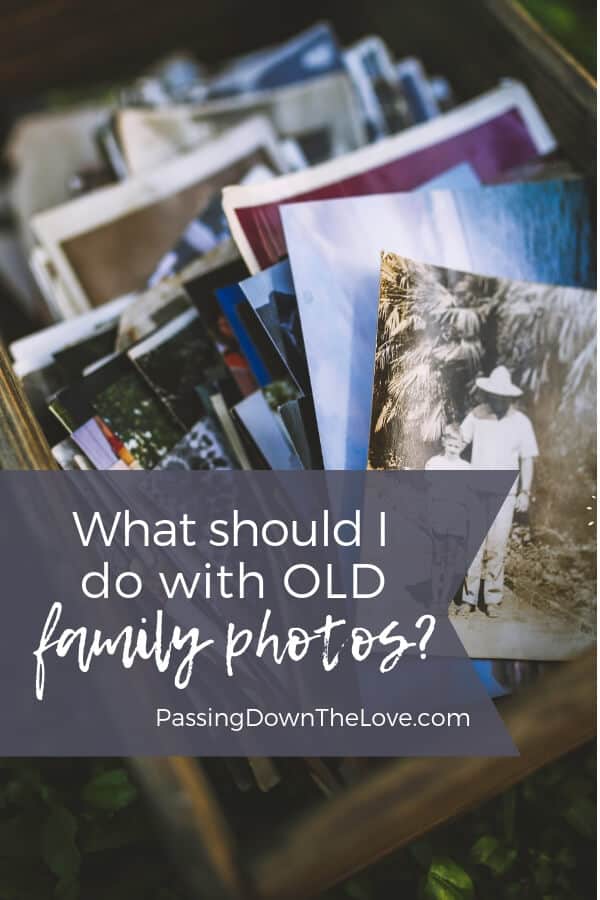
What do you do with old family photos?
Where are your old family photos? You know the ones.
Photos YOU took.
When your kids were born (in the 60's, 70's, 80's, 90's??).
Photos someone else took
Or the ones your own mom passed down to you from the 40's and 50's?
Photos from the past
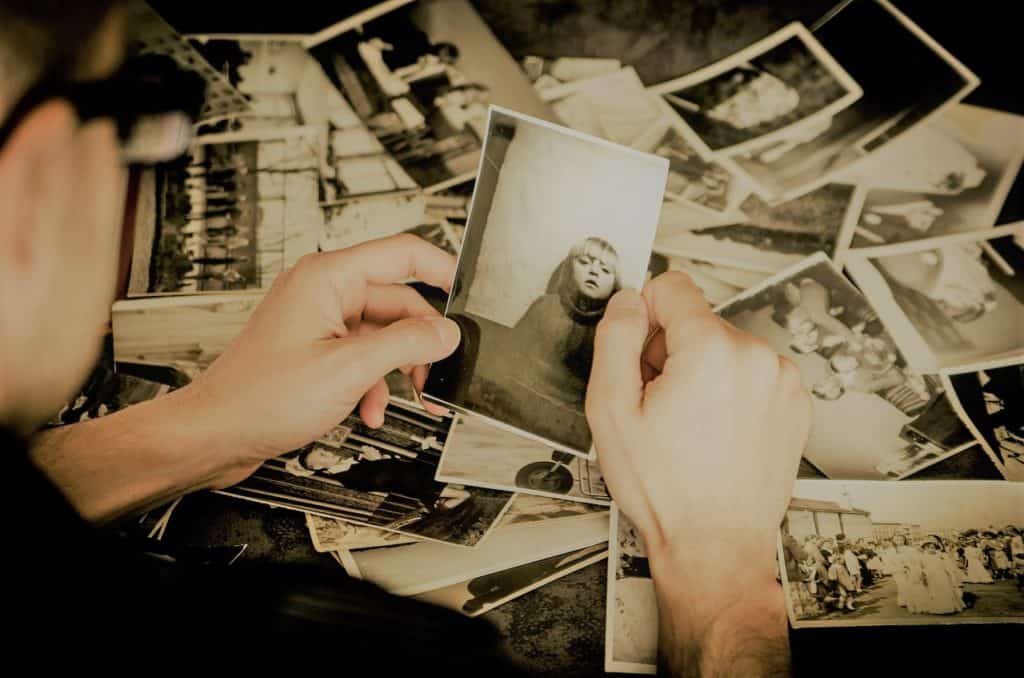
Remember the days when you took photos with a 35mm camera?
First, you had to get everyone to stand still. You took their photo and hoped everyone was smiling.
You removed the film and had to take it to the photo lab for processing.
Then wait.
And pray you got at least one photo that wasn't blurry and didn't have spooky red eyes...
And you ALWAYS got duplicates just in case someone wanted a copy.
What do you do with old these old family photos?
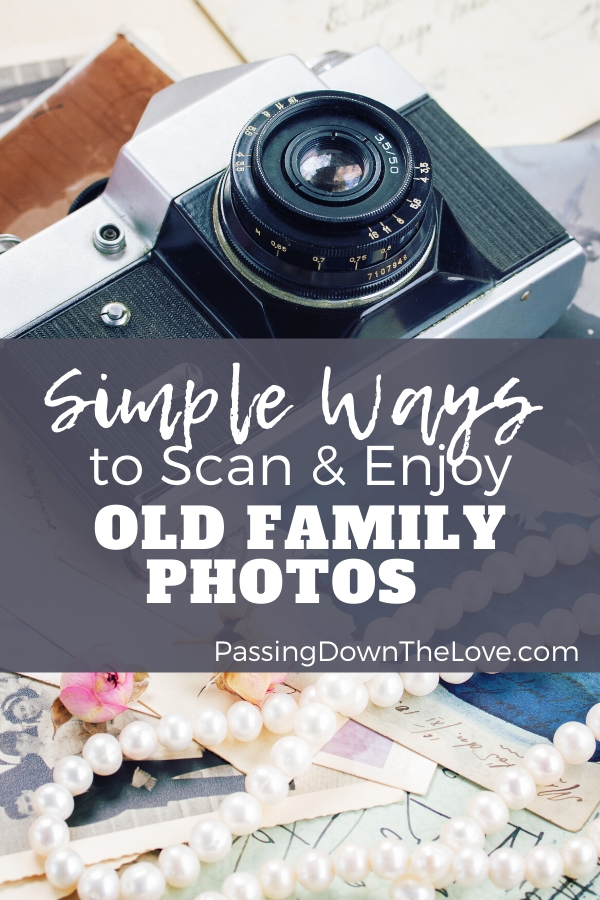
How to Scan and Preserve Old Family Photos and Memories
Don't lose your photo memories and have to live with regret!
Have you ever wondered "what should I do with my old photos"?
Preserve your photo memories by turning them into digital images. Old photos can deteriorate, crumble, and fade.
They can be damaged or destroyed by disasters like fire, tornadoes, or floods.
They can be misplaced by a family member's move to a new home, a divorce, a death, or a myriad of other circumstances.
These important memories can simply be lost.
Don't allow your important family photo memories to slip away!
Organize old family photos.
Gather.
This is what I did with my old photos. I began this process by gathering all of the relevant photos into one place.
Taking note of what types of photos you have, how many and the condition of the photos begins here.
Sort.
If you're preserving your old photos, choose a system to sort them based on date, event, person, or other appropriate criteria.
Make a pile for pictures you can’t identify.
Decide what to keep.
Get rid of any old photos with poor images, duplicates, and any damage beyond repair or recognition.
Skipping those photos that are too faded or damaged will help pare down the pile.
Separate scenery photos.
Scenery photos that don’t include people (unless it is of your own vacation and has value to you) can go.
These photos are nice, but you can find photos of most places on earth anywhere.
There are exceptions: If the scenery depicts a place that has undergone extreme changes, it brings back special memories for you, or you think another person or a historical archive might benefit, then keep it.
If a photo is particularly pleasing and you want to frame it or otherwise preserve it, by all means, do so. After all, they are YOUR pictures.
But these photos do not add any real value to your family history.
Document some history about them.
If you are looking through older photos, contact others who may know the photo or recognize the context.
Details, dates, or stories can help identify them and contribute important background information.
As an Amazon Associate and a participant in other affiliate programs, Passing Down the Love earns a small commission from qualifying purchases at no additional cost to you.
Interview others.
If there are older relatives still living - Grandmothers and Grandfathers, Great-Aunts and Uncles, or other relatives and friends, sit down with them and go through the pictures together.
They will surely enjoy the trip down memory lane, and they can likely help you to identify the photos.
Knowing the people, place, and context adds so much value to the photos and to your family history.
You can use this Family Interview Questionaire to help you add information to complement the history of the photos.
Write in pencil.
On the back of the photos, lightly write any pertinent information using a pencil.
This prevents making marks through to the front of the photo and can be erased if the information turns out to be incorrect.
Include information even if it is just a name, place, or filename where the digital copy is stored.
Use the system you prefer, but try to remain consistent as you proceed through your photo preservation project.
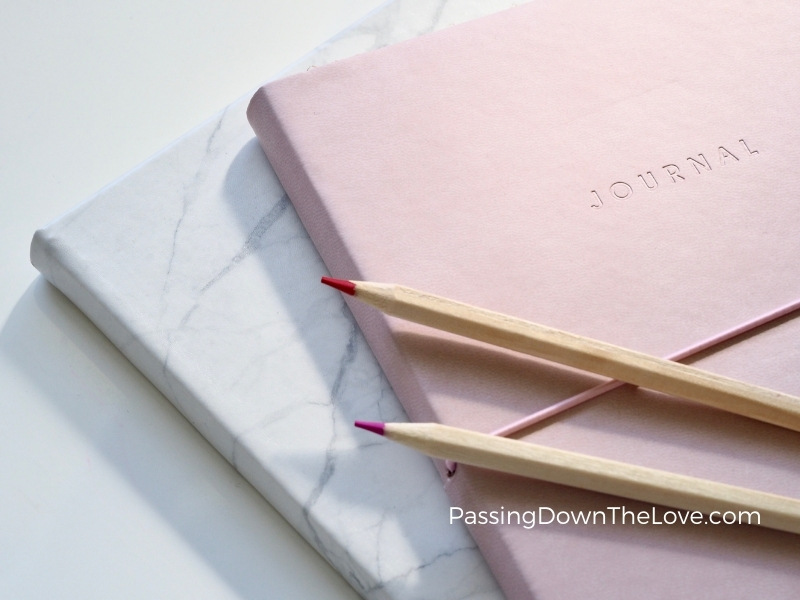
Include a Word or Google Doc.
With each set of pics you digitize by scanning, add a document into the file with stories, the information you have gathered about the photo, the names of those you interviewed, and their answers.
If you are putting the photos into albums, onto CDs, etc. print out this document to store with the photos.
Choose a method to preserve your old family photos.
You can use one or all of these methods depending on the time you have available, your level of interest, and the resources at your disposal.
Scanning
If you've decided to scan your family photos and save them in digital format, the process is to scan, edit, categorize, and backup.
Here is how you get started.
Scan
If you are scanning the pictures yourself, prepare the photos by using a microfiber or other soft cloth to wipe away any dust or other particles.
Clean the glass on the scanner to assure a clean scan.
Choose your scanning method: a flatbed scanner, wand, or film scanner for slides or negatives
There are also Apps available like Google PhotoScan or ShoeBox by Ancestry.com.
This is a newer and quite interesting method of scanning that Matt Elliott at CNet explains here.
Be sure to scan both sides of the photo, including any handwritten notes or information.
After scanning, include any known information with the photo.
If you are using a Windows PC, right-click on the photo, there is a “Properties” section all the way at the bottom.
Click and add the details about the photo in the “Details” tab.
Photos can also be sent to a service or company that specializes in scanning and preserving photo memories if you don't have the time but have the funds.
Edit & Categorize
Once the scanning is complete, review, crop, and edit photos as appropriate keeping the original intact.
Create a way to file the photos which reflect the intended use and your own personal preferences, naming them as they are edited.
Save them into folders and label them in a way you will be able to identify them easily by the event, person, place, or time period.
As an example, while working on our family photos, Dad used real file folders to sort photos by family name.
The photos were scanned and placed into computer folders and labeled the same way. They can easily be located in the future.
Now would be a good time to sort, review and purge your more recent digital photos, too.
How many copies of the same photo do you need? Just save the best and delete the rest.
This will free up storage space for the old photos you are scanning.
After saving your old photos digitally, preserve the originals if you can.
Julie from CraftyJulie.com shares more about preserving original photos in her post: How to Preserve your Family Photos for Decades.
Make a backup
You've worked too hard to lose these photo memories!
Ensure the safety of your files by using a Cloud backup service like DropBox, GoogleDrive, Google Photos, or Microsoft OneDrive.
Using an external hard-drive backup in addition to your computer is also an option.
Be sure to store it in a different location or keep it in a fire and waterproof box or cabinet.
A backup that goes up in flames with your photos defeats the purpose.
Put them in albums
Use the proper materials to store photos in an album.
This increases the likelihood they will survive into the future.
Store photos in a cool, dry, and dark place and use archival quality materials.
Genealogy Gems' article about preserving photos is a good reference if you’re looking for details about storing photos and albums.
Order a Photo Memory Book
Pick some of your favorite photos and make a memory book.
Photos make good gifts - someone you love may enjoy looking at the old photos you have found.
Display them in frames
You might want to display photos on the wall, on the mantle, or on a table.
When photos are seen often, the memories associated with them grow stronger.
This is also a good way to repeat family stories to children - they ask about a photo, or you simply take them on a “photo tour” and talk about the people they are seeing.
What a fun way to share your family history and pass the information on to the next generation.
Make DIY crafts with them
Use copies of your favorite photos in craft projects.
Make craft items to display in your home or give to others. Share your family history and old photos by gifting a DIY item.
And include the story that goes along with it!
Share them
Share your old family photos on FaceBook, Google Photos, through iCloud, email them or physically pass them on to another for safekeeping.
You spent all that time sorting, gathering, scanning, and preserving these photos, let others enjoy them, too!
In conclusion
Photographs are a personal story, a record of important events and people in our lives.
Images recreate the feelings of a moment in time, preserve our history. To lose these valuable possessions would be devastating.
Turning your photo memories into digital images ensure the safety and security of these prized photos.
They can be viewed and handled without harm, their integrity preserved.
Protect your old photo memories from disaster and loss.
Preserving your photos preserves your memories.
Don't wait too long - Avoid the regret by saving the photo, saving the memory, saving the day.
P.S.
You may want to preserve your family recipes, too.
Remember the cards with your Grandma's recipe in her own handwriting?
I used a recipe binder to preserve these. You can see that here.
If you have any comments or questions, please leave your feedback in the comment section.
I'd love to hear from you!
Keep Passing Down the Love,


To begin, get yourself a flatbed scanner. Most home printers today also include a flatbed under the lid. Your can scan individual photos to a file, or scan a group to be divided later. Get and learn how to use Adobe Photoshop Elements. With this software, you can crop individual photos from a scanned group, rotate, adjust light, contrast, sharpness, colors, and all. The results depend on how much you are willing to learn how to do with the software. You can correct scratches, folds, touch up defects easily once you know how.
One important item to learn is how to caption the photos by enlarging the 'canvas', as Adobe calls it, which will add a white space to the print where you can type information about the photos, especially data written on the backs of prints, without covering the photo itself..
You can probably even find classes online or at community colleges that will help you learn how to use the Adobe software.
Great information, Rick. Thank you.
Thanks Kimberly for the mentioning Crafty Julie on your post to help avoid regret when it comes to your family photos. It is such an important thing to preserver our memories! It's hard not to feel secure with only the physical format of a photo - digital backups are a necessity and so easy to do once you have a process down. These are great tips! Also, I just realized this past Christmas and what you mentioned - the RECIPE cards! I adore my grandmother's handwriting and still have some of her recipe cards that I will cherish forever! Thanks again!
Hey, Julie. Your site is very informative. I've learned a lot from you. The information about checking papers, etc. to see if they are acid-free was very helpful! Keep up the good work -- we are reading your posts. 🙂
--Kim